
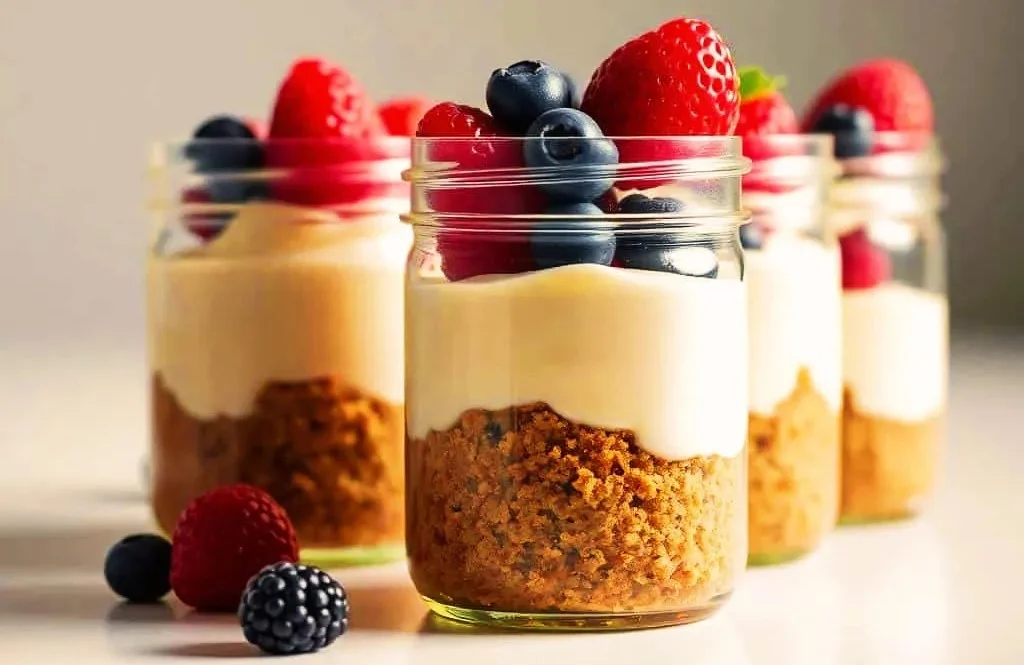
The perfect portion of creamy, dreamy no bake cheesecake – without turning on the oven.
By Eyana Becker | Crumb Jar
Why You’ll Love These No Bake Cheesecake Jars
Let’s be honest: traditional cheesecake is amazing, but it takes time, patience, and a water bath. These single-serving no bake cheesecake jars are the opposite, quick, foolproof, and dangerously delicious.
Here’s why they’ve become a reader favorite:
- 🍯 No oven needed: Perfect for hot days or small kitchens.
- 🫙 Made in a jar: Portable, giftable, and portion-controlled.
- ⏱️ 15 minutes prep: Just mix, layer, and chill.
- 🧁 Customizable: Endless flavor variations (berry, chocolate, lemon, caramel).
- 👩🍳 Beginner-friendly: No cracking, no water bath, no stress.
Whether you need a quick dessert for one, a party-friendly sweet, or a make-ahead treat, these cheesecake jars deliver.
Ingredients (Makes 2 small jars or 1 large jar)
For the Crust:
- ½ cup graham cracker crumbs (or crushed digestive biscuits)
- 1 tablespoon granulated sugar
- 2 tablespoons unsalted butter, melted
For the Cheesecake Filling:
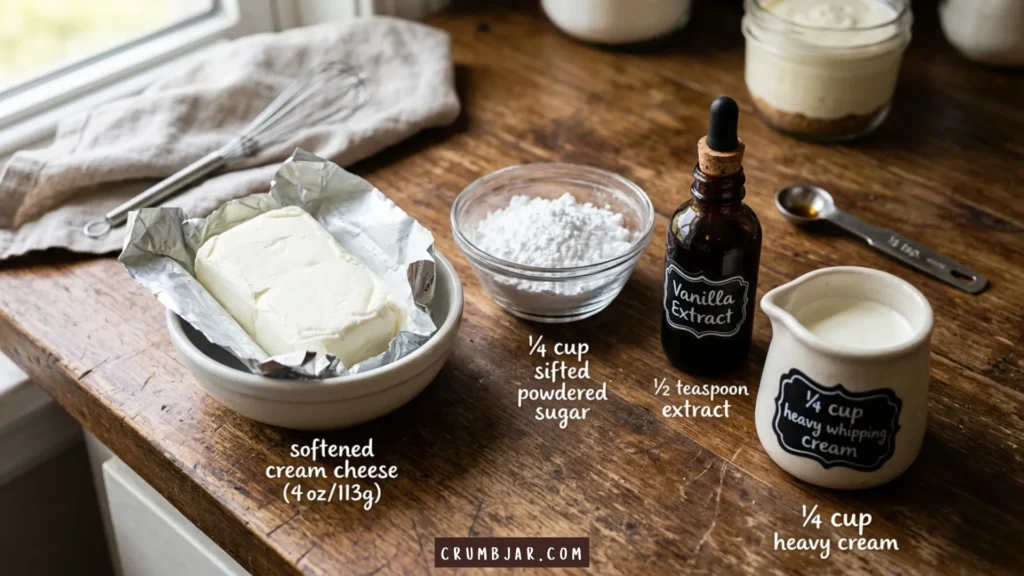
- 4 oz (113 g) cream cheese, softened
- ¼ cup powdered sugar
- ½ teaspoon vanilla extract
- ¼ cup heavy whipping cream (cold)
For the Topping (optional):
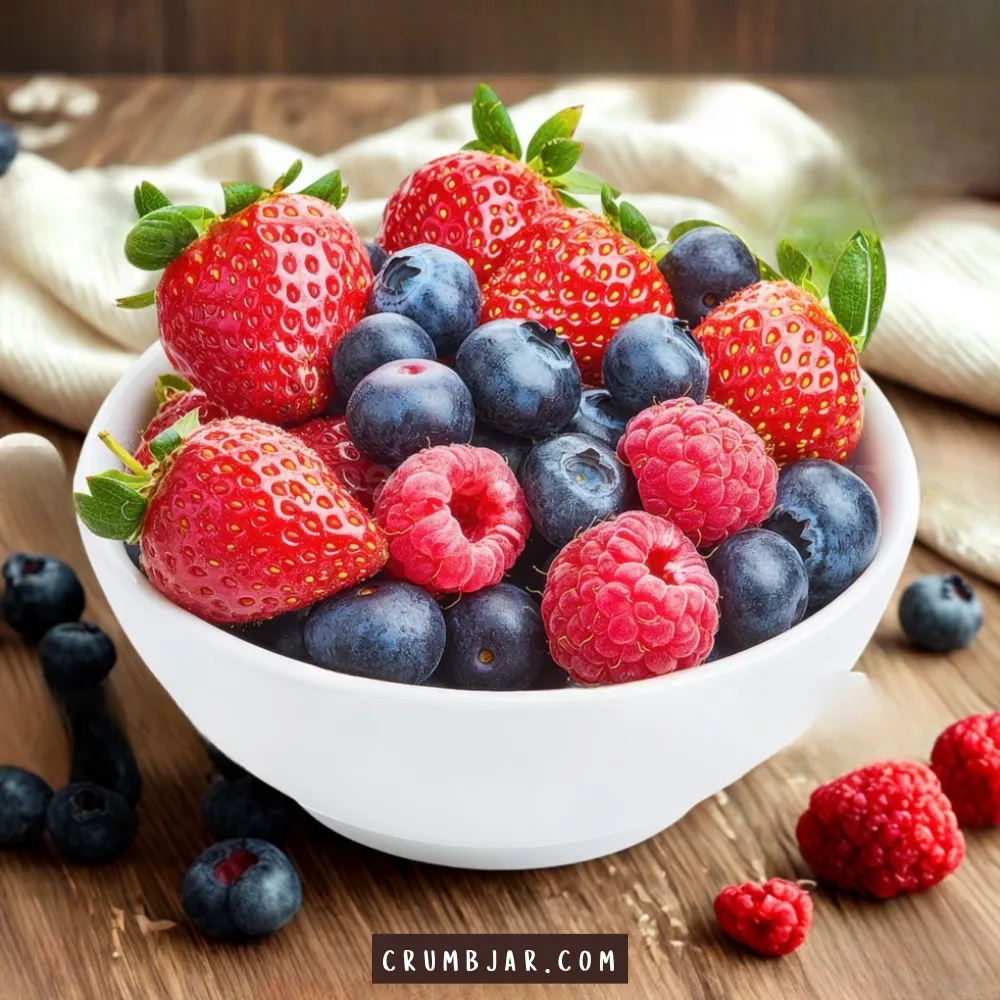
- Fresh berries (strawberries, blueberries, raspberries)
- Berry sauce or fruit jam
- Crushed cookies or extra graham crumbs
Step-by-Step Instructions for No Bake Cheesecake Jars
Step 1: Make the Crust
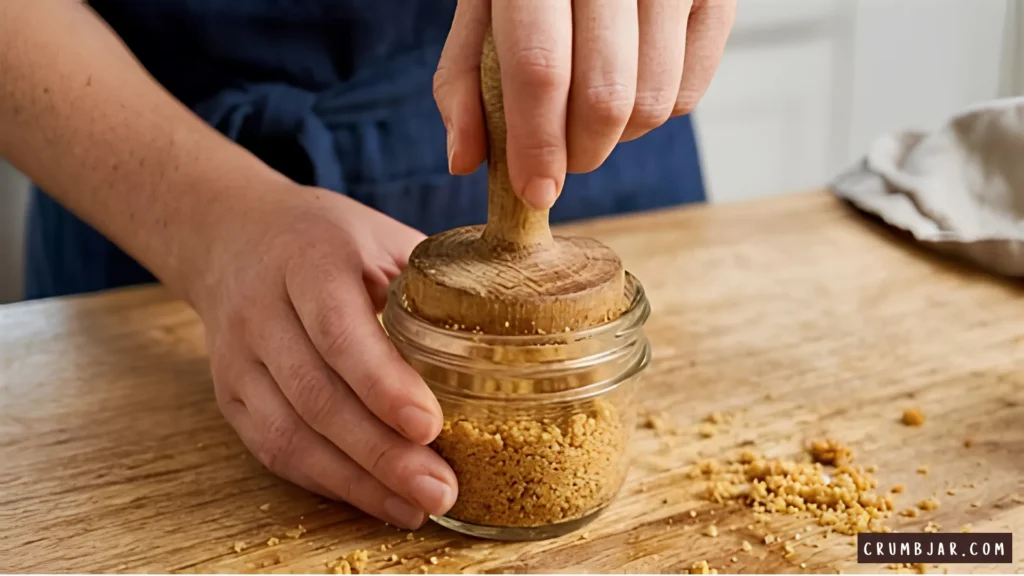
In a small bowl, mix graham cracker crumbs, sugar, and melted butter until it resembles wet sand. Divide the mixture between two 8 oz jars (or one 16 oz jar). Press down firmly with the back of a spoon. Set aside.
Step 2: Whip the Cheesecake Filling
In a medium bowl, beat the softened cream cheese with powdered sugar and vanilla until smooth and lump-free. In a separate cold bowl, whip the heavy cream to stiff peaks (about 2-3 minutes with a hand mixer). Gently fold the whipped cream into the cream cheese mixture until just combined, don’t overmix.
Step 3: Layer the Jars
Spoon or pipe the cheesecake filling over the crust. Smooth the top with a small spatula. Add your favorite toppings, fresh berries, a drizzle of berry sauce, or a sprinkle of extra crumbs.
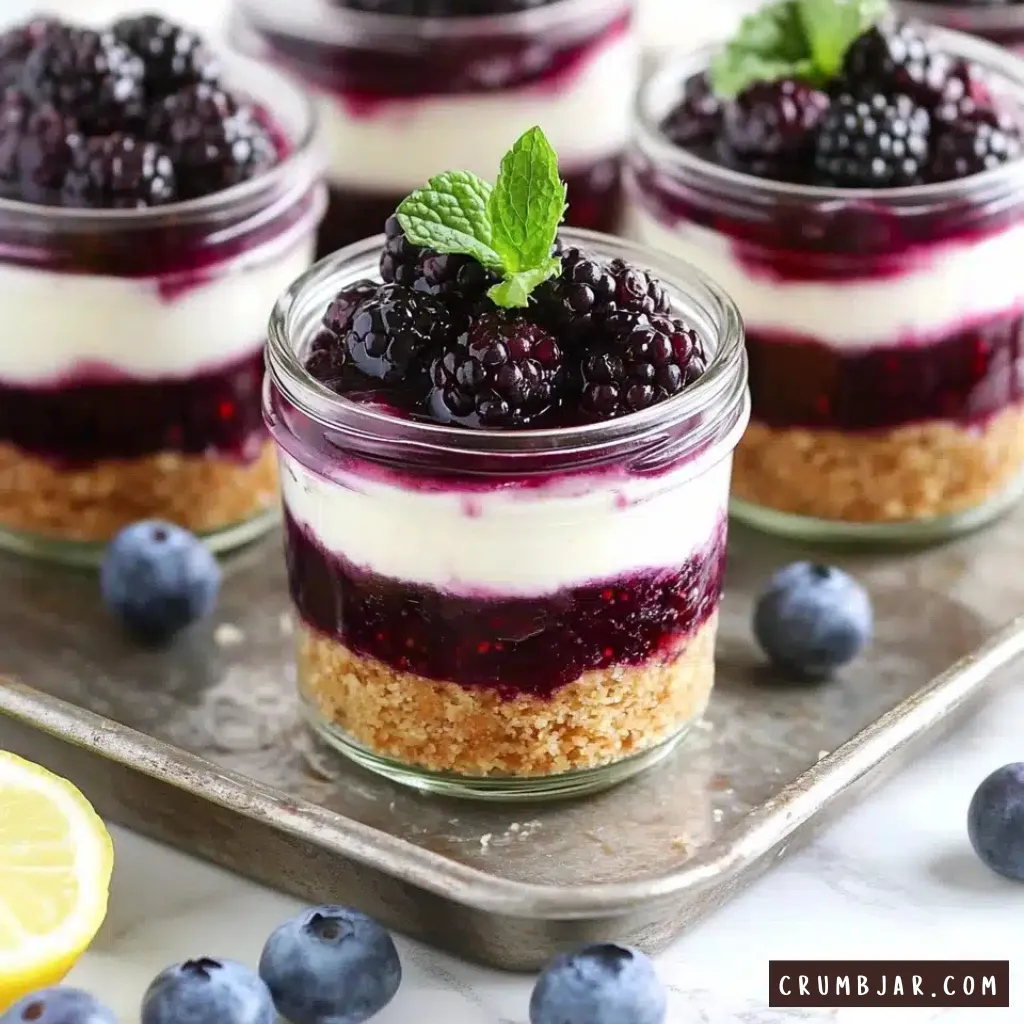
Step 4: Chill & Serve
Refrigerate for at least 2 hours (or overnight). The filling will set beautifully. Serve cold, straight from the jar.
Pro tip: For cleaner layers, chill the crust for 10 minutes before adding the filling.
5 Delicious Flavor Variations for No Bake Cheesecake Jars
| Flavor | Add to Filling | Topping |
|---|---|---|
| Berry Swirl | 2 tablespoon raspberry jam | Fresh mixed berries |
| Chocolate Lover | 1 tablespoon cocoa powder | Chocolate shavings + chocolate sauce |
| Lemon Zest | 1 teaspoon lemon zest + 1 tsp lemon juice | Lemon curd + white chocolate chips |
| Salted Caramel | (keep plain) | Caramel sauce + flaky sea salt |
| Cookies & Cream | 2 crushed Oreos | Whipped cream + Oreo crumb |
Expert Tips from Eyana
✅ Use full-fat cream cheese: Low-fat versions contain more water and won’t set properly.
✅ Soften cream cheese to room temperature: Cold cream cheese creates lumps. Leave it on the counter for 30 minutes.
✅ Whip heavy cream separately: This gives the filling that light, mousse-like texture.
✅ Make ahead: These jars stay fresh in the fridge for up to 3 days (perfect for meal-prep dessert).
✅ Jar sizes: 8 oz mason jars or Weck jars work best. For gifts, use 4 oz jars with lids and a cute ribbon.
Frequently Asked Questions
Can I freeze no bake cheesecake jars?
Yes! Freeze without toppings for up to 1 month. Thaw overnight in the fridge and add toppings before serving.
Why is my filling runny?
Two common reasons: cream cheese wasn’t cold enough when whipping (it should be softened, but the whipped cream must be cold), or you overmixed after adding whipped cream. Chill longer, it will firm up.
Can I make one large jar instead of two small?
Absolutely. Use a 16 oz jar and double the crust if you want a thicker bottom layer. Chill time remains 2+ hours.
No graham crackers?
Substitute with crushed vanilla wafers, shortbread cookies, or even toasted nuts mixed with a little honey.
You Might Like: How to Make the Ultimate Vanilla Chai Spiced Mug Cake
Pingback: Rich and Fudgy: 5 Chocolate Desserts That Are Foolproof and Fast - Crumb Jar