
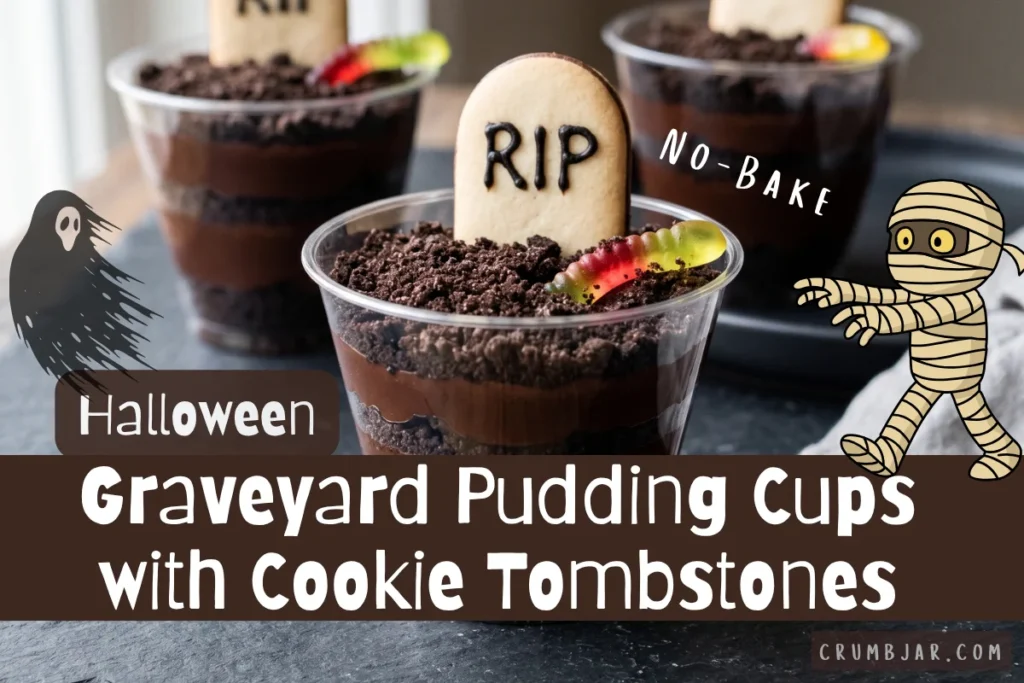
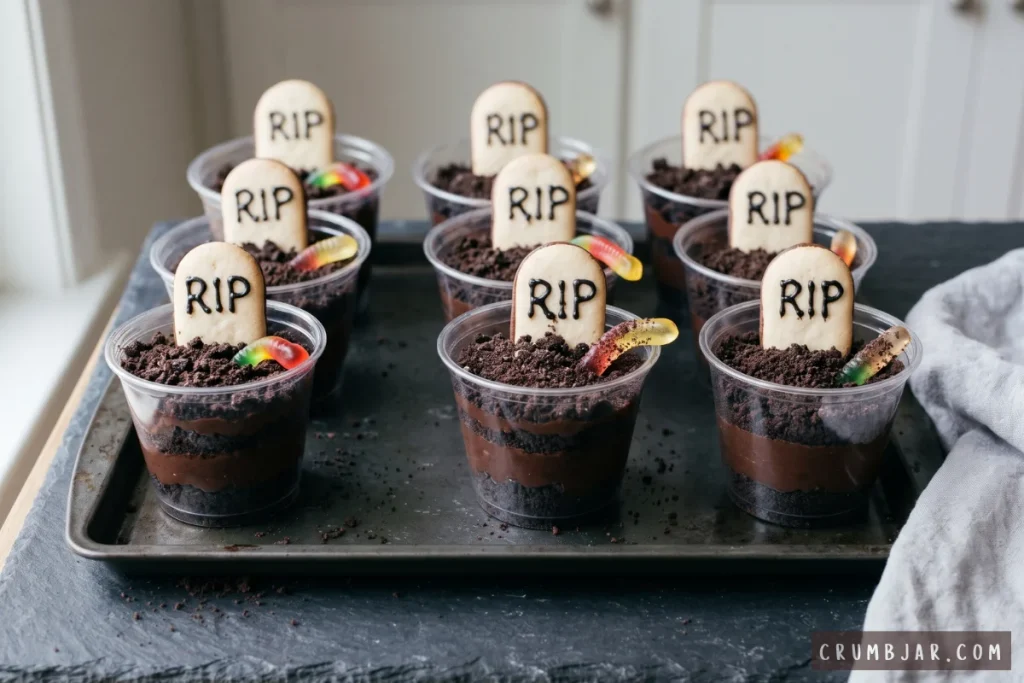
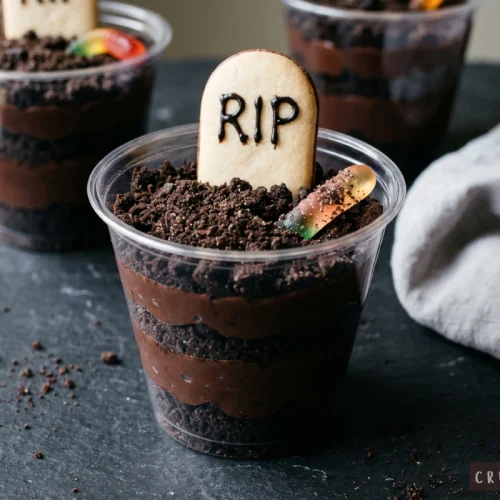
Graveyard pudding cups are dirt cups with a Halloween theme. Each clear cup holds layers of homemade chocolate pudding and crushed chocolate cookie “dirt,” topped with a cookie tombstone and a gummy worm crawling out of the ground. Because every guest gets their own cup, there is nothing to scoop or slice at the party.
Nothing here goes in the oven, and the pudding is cooked in the microwave in two batches. The pudding needs at least 2 hours to chill, so plan the recipe around that wait. The tombstones are Milano-style cookies with “RIP” piped on in icing, and you can do that while the pudding chills.
Ingredients
For the chocolate pudding
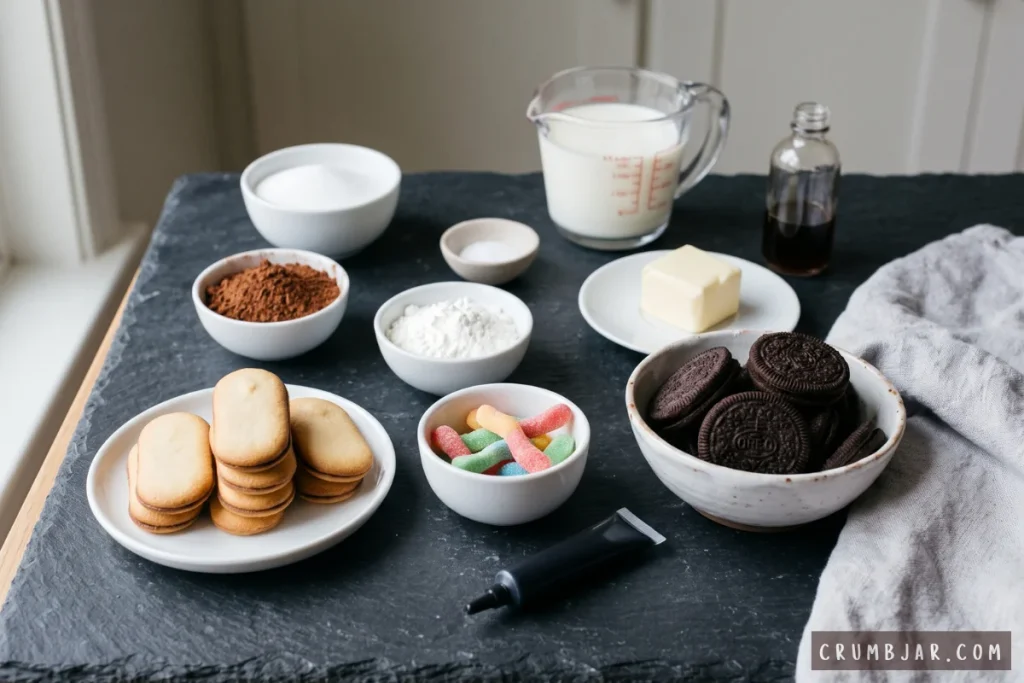
- 1⅓ cups (267 g) granulated sugar
- ½ cup (42 g) unsweetened natural cocoa powder
- 6 tablespoons (48 g) cornstarch
- ½ teaspoon fine salt
- 4½ cups (1,080 ml) whole milk
- 4 tablespoons (57 g) unsalted butter
- 2 teaspoons vanilla extract
For the dirt
- 22 regular chocolate sandwich cookies, such as Oreos, filling included (about 2 cups of fine crumbs)
For the graveyard toppers
- 8 Milano-style oval cookies
- 1 small tube black decorating icing
- 8 gummy worms, about 4 inches long
Ingredient Notes
- Milk: Use whole milk. The proportions are built around it, and lower-fat milk may give a thinner, less creamy pudding.
- Cocoa: Use plain unsweetened cocoa powder, not hot cocoa mix.
- Cookies for the dirt: Regular cookies work better than Double Stuf for even crumbs. Crush them with the filling in.
- Tombstones: Any sturdy oval or rectangular cookie can be a tombstone. If your cookies are dark, use white decorating icing for the lettering.
- Allergens: The cups contain wheat, milk and soy. Check labels on the cookies, icing and gummy worms if you’re serving guests with allergies.
Equipment
- Large (at least 3-quart) microwave-safe bowl
- Whisk and silicone spatula
- Plastic wrap
- 8 clear cups, 8 to 9 ounces each
- Food processor, or a zip-top bag and rolling pin, for crushing the cookies
- Parchment-lined plate for the tombstones
Time and Yield
- Prep: 25 minutes
- Cook: 20 minutes (two microwave batches)
- Chill: 2 hours minimum
- Assembly: 15 minutes
- Total: about 3 hours (hands-on time is about 1 hour)
- Yield: 8 cups, each with about ½ cup pudding
- Difficulty: Easy
Instructions – How to Make Graveyard Pudding Cups
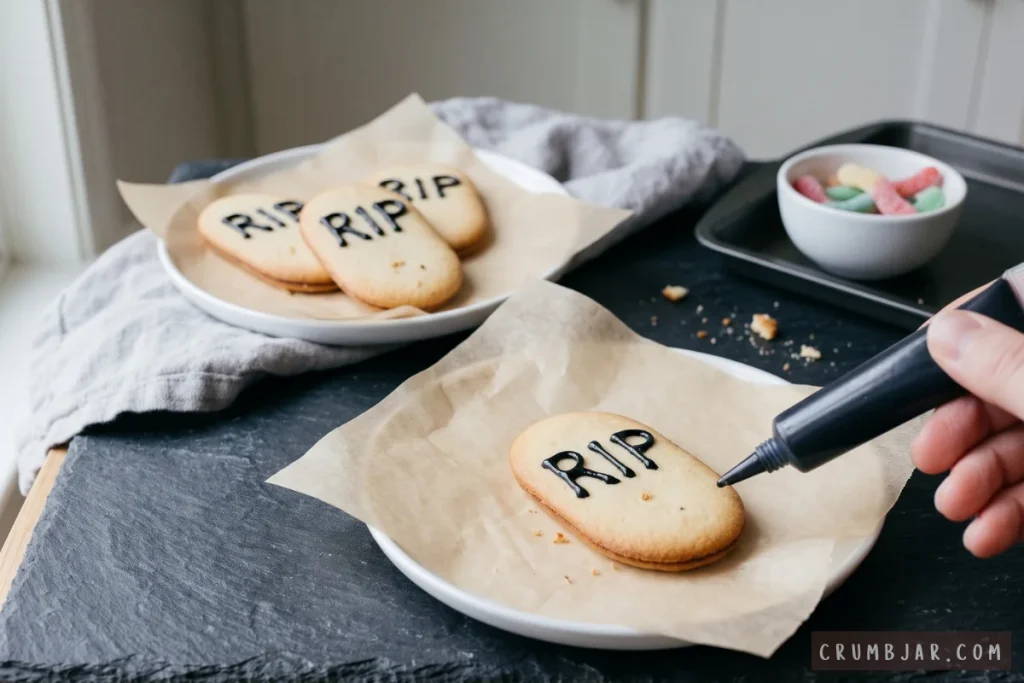
- Pipe the tombstones. Line a plate with parchment paper. Use the black icing to write “RIP” on each of the 8 cookies. Let the icing dry until set, at least 15 minutes, and keep the cookies away from moisture until you assemble the cups.
- Crush the cookies. Pulse the 22 cookies, filling included, in a food processor until you have fine crumbs with no large chunks. If you don’t have a food processor, seal the cookies in a zip-top bag and crush them with a rolling pin. Set the crumbs aside.
- Mix the first pudding batch. The pudding is cooked in two equal batches so each one heats evenly. In the large microwave-safe bowl, whisk ⅔ cup sugar, ¼ cup cocoa powder, 3 tablespoons cornstarch and ¼ teaspoon salt, breaking up any cocoa lumps. Gradually whisk in 2¼ cups milk until completely smooth.
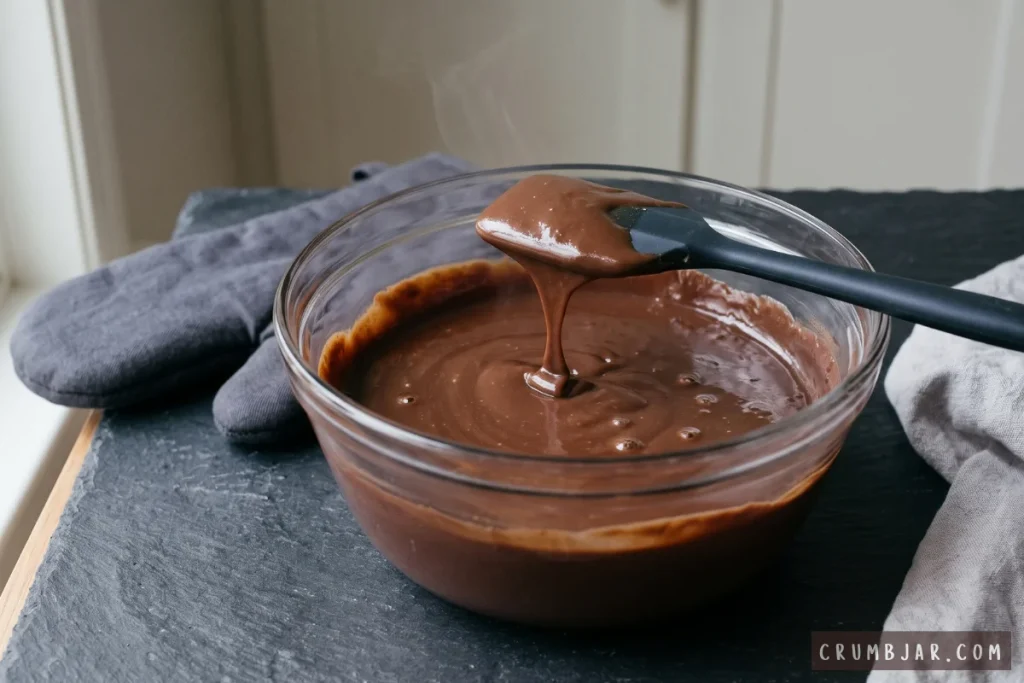
- Microwave to a full boil. Microwave on High for 7 to 10 minutes total, stopping to stir every 2 minutes. The pudding is ready when it comes to a full boil, looks glossy and thick, and coats the back of a spoon. If it hasn’t reached a full boil after 7 minutes, continue in 1-minute increments, stirring after each. Microwave wattage varies, so go by these cues rather than the timer. Use oven mitts, because the bowl and pudding will be very hot, and watch for bubbling over near the end.
- Finish and cover. Stir in 2 tablespoons butter and 1 teaspoon vanilla until the butter melts and the pudding is smooth. Scrape it into a large clean bowl and press plastic wrap directly onto the surface so a skin doesn’t form.
- Make the second batch. Repeat steps 3 to 5 with the remaining ingredients: ⅔ cup sugar, ¼ cup cocoa, 3 tablespoons cornstarch, ¼ teaspoon salt, 2¼ cups milk, 2 tablespoons butter and 1 teaspoon vanilla. Stir the second batch into the first in the large bowl, then press fresh plastic wrap onto the surface. You should have about 4 cups of pudding.
- Chill. Refrigerate for at least 2 hours, until the pudding is cold and thick. It can chill overnight.
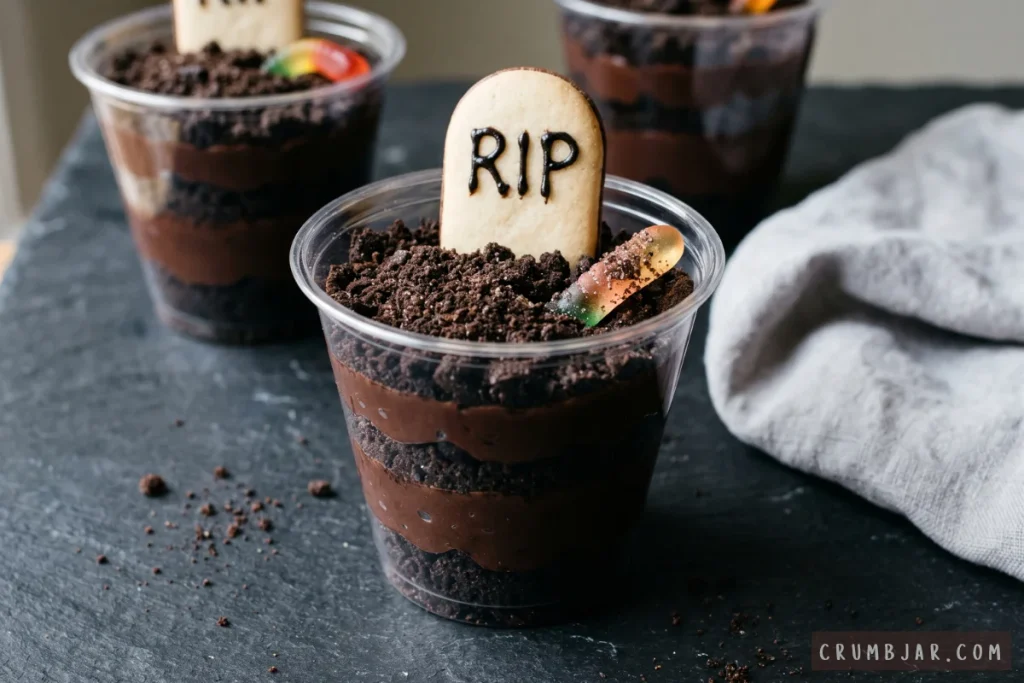
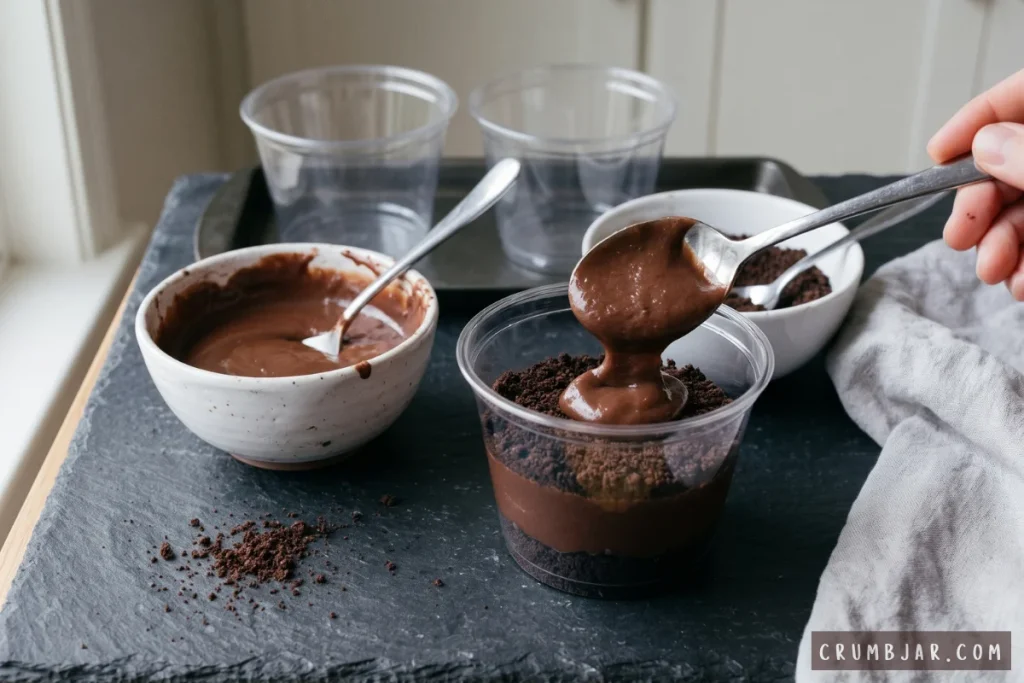
- Layer the cups. Stir the chilled pudding until smooth and spoonable. Set 8 clear cups on a tray. In each cup, layer 1 tablespoon of cookie crumbs, ¼ cup pudding, another 1 tablespoon of crumbs and another ¼ cup pudding. Spoon the pudding down the center of the cup to keep the glass clean, and smooth each layer with the back of the spoon. Finish with 2 tablespoons of crumbs, spread to cover the pudding.
- Add the graveyard. Push the bottom ½ inch of a tombstone cookie into the crumbs near the back of each cup so it stands upright. Bury one end of a gummy worm in the crumbs so it looks like it’s crawling out of the ground. Serve cold.
Tips for Success
- Whisk the dry ingredients first. Adding the milk gradually to the dry mix is the best way to avoid lumps.
- Use a large bowl. The pudding rises as it comes to a boil, and a bowl of at least 3 quarts helps prevent boil-over.
- Cook to a full boil. Cornstarch pudding needs to boil to thicken fully, so don’t stop the microwave early.
- Chill the pudding before layering. Warm pudding makes the cookie crumbs soggy and can soften the gummy worms.
- Add the tombstones last. Cookies and gummies soften as they sit against the pudding, so they look best when added shortly before serving.
Variations and Substitutions
- Instant pudding shortcut: You can replace the homemade pudding with instant chocolate pudding made according to the package directions, enough for about 4 cups. Skip steps 3 to 7 and chill as the package says. The texture and the nutrition estimate will differ from the homemade version.
- Other cookies: Another chocolate sandwich cookie can replace the dirt, and any sturdy oval or rectangular cookie can be a tombstone. Texture and sweetness will change slightly.
Troubleshooting
- The pudding is lumpy. The cocoa or cornstarch probably wasn’t whisked in smoothly. Whisk well, then press small lumps through a fine-mesh sieve before chilling.
- The pudding is still thin after chilling. It may not have reached a full boil. Microwave it again in 1-minute bursts, stirring between each, until it boils, then chill again.
- The pudding bubbled over. Use a larger bowl and stop to stir sooner as it approaches a boil.
- A skin formed on top. Press plastic wrap directly onto the surface while the pudding cools. If a skin forms, lift it off before layering.
- The crumbs or tombstones went soft. The cups were probably assembled too early or with warm pudding. Chill the pudding fully and add toppers last.
Storage and Make-Ahead
Because the pudding contains milk, keep the cups refrigerated.
- Pudding ahead of time: Make it up to 2 days ahead, with plastic wrap pressed onto the surface.
- Assembling ahead: Layer the cups, including the top crumbs, up to 1 day ahead and cover them with plastic wrap. Add the tombstones and gummy worms just before serving so they stay crisp and chewy.
- Leftovers: Cover leftover cups and refrigerate for up to 3 days. The crumbs, cookies and gummies soften over time, so they’re best on the day they’re assembled.
- Freezing: Freezing isn’t recommended, because cornstarch pudding can turn watery after thawing.
- Serving safety: Don’t leave the cups at room temperature for more than 2 hours, or 1 hour if it’s above 90°F. At a party, keep them chilled until serving time.
Serving and Presentation
Serve the cups cold on a tray, with the tombstones leaning against the back of each cup. A dark tray makes the layers and the white lettering stand out. Eat them with a small spoon.
You Might Also Like: Halloween Oreo Truffles with Creepy Eyeballs.
Frequently Asked Questions
- Is this really no-bake?
Yes, nothing goes in the oven. The pudding is cooked in the microwave, so it isn’t no-cook. For a no-cook version, use the instant pudding shortcut. - Can I make the pudding on the stove?
Yes. Whisk the same ingredients together in a large saucepan over medium heat, stirring constantly, until the mixture thickens and comes to a boil. Cook for 1 minute, then stir in the butter and vanilla and chill as directed. - Can I use a different milk?
Whole milk is what the recipe is built on. Other milks may give a softer or thinner pudding, so you may need a longer chill.
Final Thoughts
These cups come together from a handful of ingredients and a few spoonfuls of crumbs. Make the pudding ahead, pipe the tombstones while it chills, and assemble the graveyard just before the party.
Graveyard Pudding Cups with Cookie Tombstones (No-Bake Halloween Dirt Cups)
Equipment
- Large (at least 3-quart) microwave-safe bowl
- Whisk
- Silicone spatula
- Plastic wrap
- 8 clear cups, 8 to 9 ounces each
- Food processor (or zip-top bag and rolling pin)
- Parchment-lined plate
Ingredients
For the Chocolate Pudding
- 1 1/3 cups granulated sugar
- 1/2 cup unsweetened natural cocoa powder not hot cocoa mix
- 6 tbsp cornstarch
- 1/2 tsp fine salt
- 4 1/2 cups whole milk
- 4 tbsp unsalted butter
- 2 tsp vanilla extract
For the Dirt
- 22 regular chocolate sandwich cookies, such as Oreos filling included, about 2 cups of fine crumbs
For the Graveyard Toppers
- 8 Milano-style oval cookies for the tombstones
- 1 small tube black decorating icing use white icing if your cookies are dark
- 8 gummy worms about 4 inches long
Instructions
Prepare the Tombstones and Dirt
- Pipe the tombstones. Line a plate with parchment paper. Use the black icing to write “RIP” on each of the 8 cookies. Let the icing dry until set, at least 15 minutes, and keep the cookies away from moisture until you assemble the cups.
- Crush the cookies. Pulse the 22 cookies, filling included, in a food processor until you have fine crumbs with no large chunks. If you do not have a food processor, seal the cookies in a zip-top bag and crush them with a rolling pin. Set the crumbs aside.
Make the Chocolate Pudding
- Mix the first pudding batch. The pudding is cooked in two equal batches so each one heats evenly. In the large microwave-safe bowl, whisk 2/3 cup sugar, 1/4 cup cocoa powder, 3 tablespoons cornstarch and 1/4 teaspoon salt, breaking up any cocoa lumps. Gradually whisk in 2 1/4 cups milk until completely smooth.
- Microwave to a full boil. Microwave on High for 7 to 10 minutes total, stopping to stir every 2 minutes. The pudding is ready when it comes to a full boil, looks glossy and thick, and coats the back of a spoon. If it has not reached a full boil after 7 minutes, continue in 1-minute increments, stirring after each. Microwave wattage varies, so go by these cues rather than the timer. Use oven mitts, because the bowl and pudding will be very hot, and watch for bubbling over near the end.
- Finish and cover. Stir in 2 tablespoons butter and 1 teaspoon vanilla until the butter melts and the pudding is smooth. Scrape it into a large clean bowl and press plastic wrap directly onto the surface so a skin does not form.
- Make the second batch. Repeat the three steps above with the remaining ingredients: 2/3 cup sugar, 1/4 cup cocoa, 3 tablespoons cornstarch, 1/4 teaspoon salt, 2 1/4 cups milk, 2 tablespoons butter and 1 teaspoon vanilla. Stir the second batch into the first in the large bowl, then press fresh plastic wrap onto the surface. You should have about 4 cups of pudding.
- Chill. Refrigerate for at least 2 hours, until the pudding is cold and thick. It can chill overnight.
Assemble the Graveyard Cups
- Layer the cups. Stir the chilled pudding until smooth and spoonable. Set 8 clear cups on a tray. In each cup, layer 1 tablespoon of cookie crumbs, 1/4 cup pudding, another 1 tablespoon of crumbs and another 1/4 cup pudding. Spoon the pudding down the center of the cup to keep the glass clean, and smooth each layer with the back of the spoon. Finish with 2 tablespoons of crumbs, spread to cover the pudding.
- Add the graveyard. Push the bottom 1/2 inch of a tombstone cookie into the crumbs near the back of each cup so it stands upright. Bury one end of a gummy worm in the crumbs so it looks like it is crawling out of the ground. Serve cold.

