
Introduction
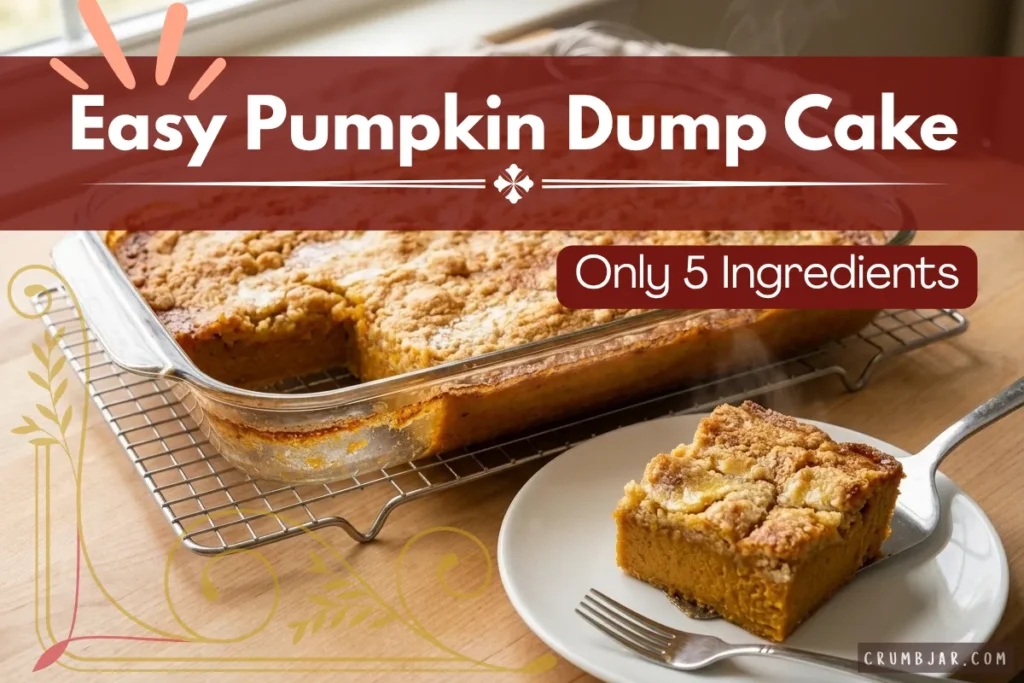
If you want pumpkin dessert without mixing batter, rolling crust, or dirtying three bowls, this easy pumpkin dump cake is the answer. It uses just 5 ingredients, comes together in about 10 minutes of hands-on work, and bakes into a soft, custardy pumpkin layer under a buttery, crisp cake topping. It’s the kind of dessert that works for a weeknight craving or a Thanksgiving table where the oven is already busy and you need something forgiving.
Why This Dessert Works
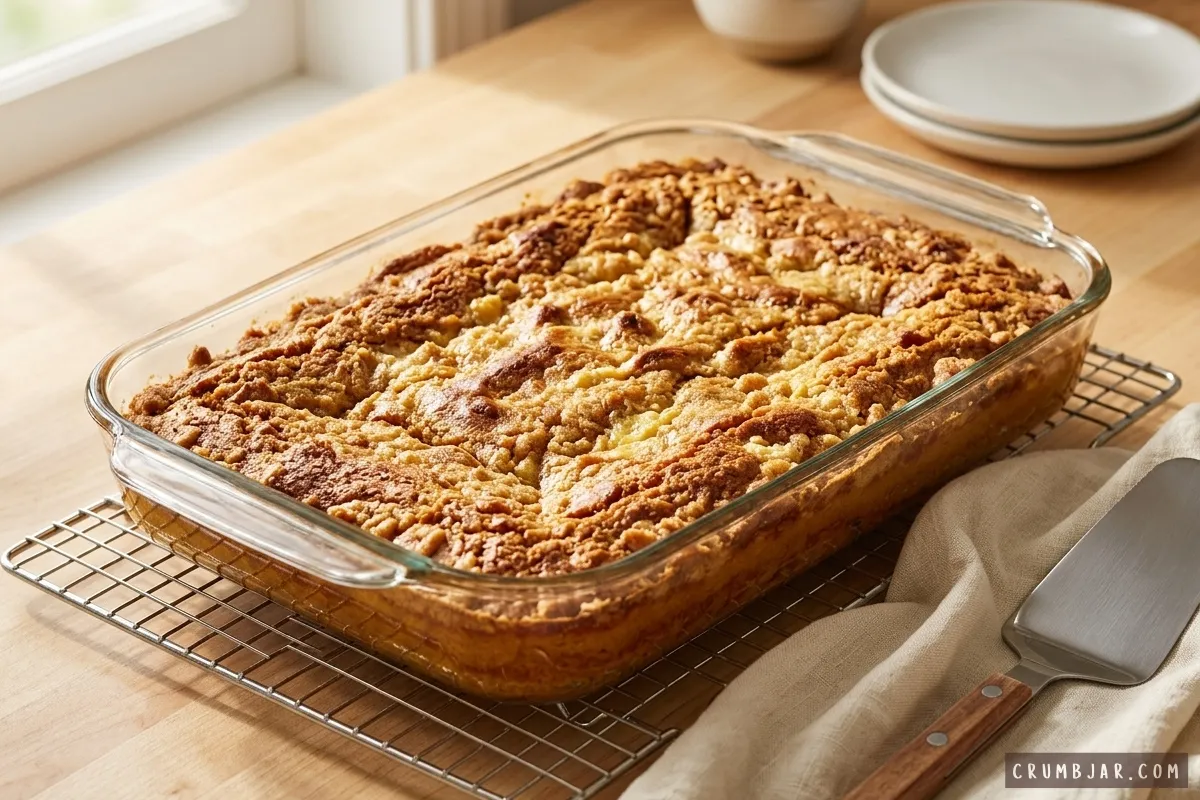
A dump cake skips the usual creaming and folding entirely. You pour a pumpkin custard into the pan, scatter dry cake mix over the top, and cover it with melted butter. As it bakes, the butter soaks into the cake mix and turns it into a golden, crumbly crust, while the pumpkin layer sets underneath into something close to pumpkin pie filling.
That’s why the method matters more than the technique here: the layers should stay separate. Don’t stir the cake mix into the pumpkin, and don’t skimp on the butter coverage. Those two things are the difference between a proper dump cake and a pan of dry powder on top of pumpkin.
Recipe Details
- Servings: 12
- Prep time: 10 minutes
- Bake time: 50 minutes
- Total time: 1 hour
- Difficulty: Easy
Ingredients
- 1 can (15 oz / 425g) pumpkin puree – not pumpkin pie filling
- 1 can (12 oz / 354ml) evaporated milk
- 1 cup granulated sugar (200g)
- 1 box (15.25 oz / 432g) yellow cake mix, dry
- 3/4 cup unsalted butter (170g), melted
A note on two of these: use pure pumpkin puree, not pre-sweetened pumpkin pie filling, since the sugar is already accounted for in the recipe. And evaporated milk, not sweetened condensed milk, they aren’t interchangeable here, and condensed milk will make the filling far too sweet and loose.
Equipment
- 9×13-inch baking dish
- Large mixing bowl
- Whisk
How to Make Pumpkin Dump Cake
- Preheat the oven to 350°F (175°C) and lightly grease a 9×13-inch baking dish.
- In a large bowl, whisk together the pumpkin puree, evaporated milk, and granulated sugar until completely smooth with no streaks of pumpkin remaining.
- Pour the pumpkin mixture into the prepared baking dish and spread it into an even layer.
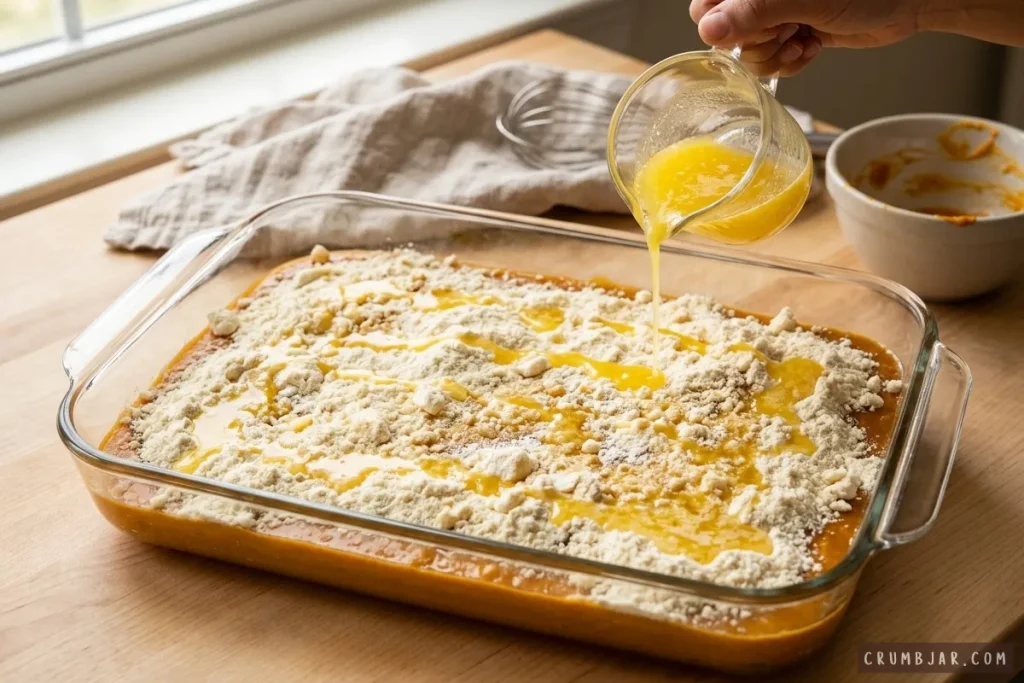
- Sprinkle the dry cake mix evenly over the surface of the pumpkin layer, breaking up any lumps with your fingers as you go. Do not stir it in.
- Drizzle the melted butter slowly and evenly over the entire surface of the cake mix, working in a back-and-forth pattern so you cover as much of the dry powder as possible. Any patches you miss will stay chalky after baking.
- Bake for 45-55 minutes, until the topping is golden brown and the center no longer jiggles loosely when you nudge the pan. The edges will bubble slightly.
- Let the cake cool for at least 30 minutes before serving. The pumpkin layer needs this time to finish setting.
Tips for Success
- Cover the cake mix thoroughly with butter. This is the single most common failure point. Drizzle slowly in overlapping lines rather than pouring it in one spot.
- Break up lumps in the dry mix before adding the butter so it absorbs evenly.
- Don’t rush the cooling. Straight from the oven, the pumpkin layer is loose. Thirty minutes makes it sliceable; a full hour makes it clean-cut.
- Use a light-colored baking dish if you have one. Dark metal pans brown the edges faster and can dry the corners before the center sets.
- Check the center, not the topping. A golden top doesn’t mean the filling is done, look for a set, barely-wobbly center.
Storage
Cover and refrigerate leftovers for up to 4 days. The topping softens in the refrigerator, so warm individual portions in the microwave for 20-30 seconds to bring back some of the texture. This dessert can be baked a day ahead, it’s a practical choice when the oven is in demand for a holiday meal.
Serving Suggestions
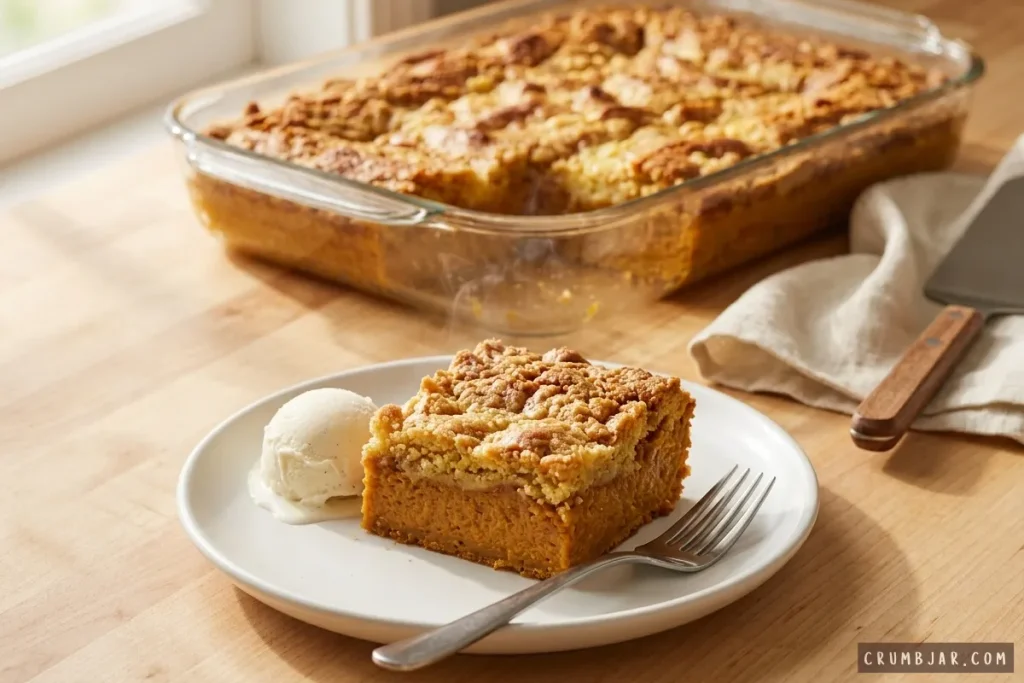
Serve slightly warm or at room temperature, cut into squares directly from the pan. It’s sturdy enough to sit out on a dessert table and doesn’t need plating to look good. A scoop of vanilla ice cream is an easy optional addition if you’re serving it warm.
Looking for the perfect Pumpkin Bundt Cake with Cream Cheese Glaze? Check out The Ultimate Fall Baking Bucket List for more delicious fall baking ideas.
- Problem: Dry, powdery patches on top. Likely cause: The melted butter didn’t reach that area of the cake mix. Fix: Drizzle more evenly next time. For a pan already baked, those spots are fixable in the moment by spooning a little melted butter over them and returning the dish to the oven for 5 minutes.
- Problem: The filling is runny. Likely cause: Underbaked, or cut too soon. Fix: Bake until the center is set rather than relying on the timer, and let it cool at least 30 minutes.
- Problem: The topping browned before the center cooked through. Likely cause: Oven runs hot, or a dark pan was used. Fix: Tent the dish loosely with foil for the last 15 minutes of baking.
- Can I use spice cake mix instead of yellow? Yes. Spice cake mix adds more warm spice flavor to the topping. Yellow cake mix keeps the pumpkin layer as the dominant flavor, which is why it’s the default here.
- Do I need to add pumpkin pie spice? Not for the recipe to work. This version keeps to 5 ingredients. If you want more spice, add 1 to 2 teaspoons of pumpkin pie spice to the pumpkin mixture in step 2.
- Can I use pumpkin pie filling instead of pumpkin puree? No. Pumpkin pie filling is already sweetened and spiced, so the cake would be overly sweet and the texture would be off. Use plain pumpkin puree.
- Why is my cake mix still dry on top? The butter didn’t reach it. Full coverage matters more than the exact amount, so drizzle slowly and in overlapping passes.
- Can I make this in a smaller pan? A 9×13 is the right size for these quantities. A smaller pan makes the layers too thick and the center won’t set reliably in the same bake time.
Conclusion
Five ingredients, one pan, and no mixing technique to master, this pumpkin dump cake is about as low-effort as fall baking gets, and it still delivers that soft pumpkin-pie-style filling people actually want this time of year. Keep the butter coverage even, let it cool properly, and you’ll have a dessert that holds up on any fall table.


Pingback: No-Bake Chocolate Pumpkin Butter Cups (Easy Fall Treat) - Crumb Jar