
Introduction
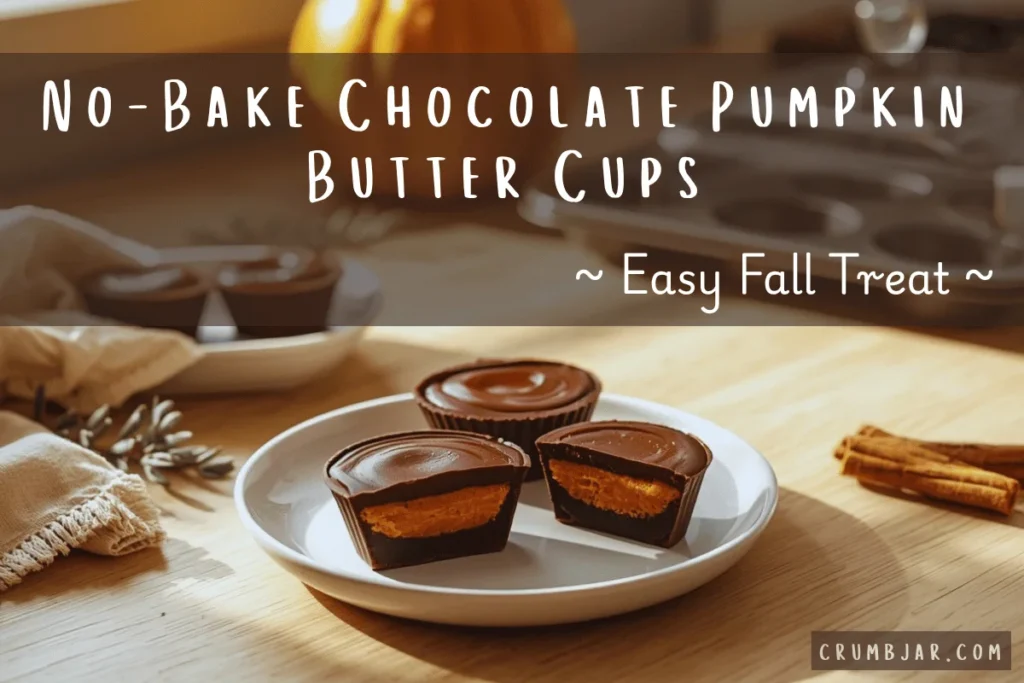
These no-bake chocolate pumpkin butter cups take the peanut butter cup idea and swap in a spiced pumpkin filling, set inside a shell of melted chocolate. There’s no oven involved, just a freezer and about 20 minutes of active time, which makes this a good option when you want a fall candy-style treat without committing to a full baking project. The filling has real pumpkin flavor, not just spice, so it tastes closer to pumpkin butter than to plain pumpkin pie filling.
Why This Recipe Works
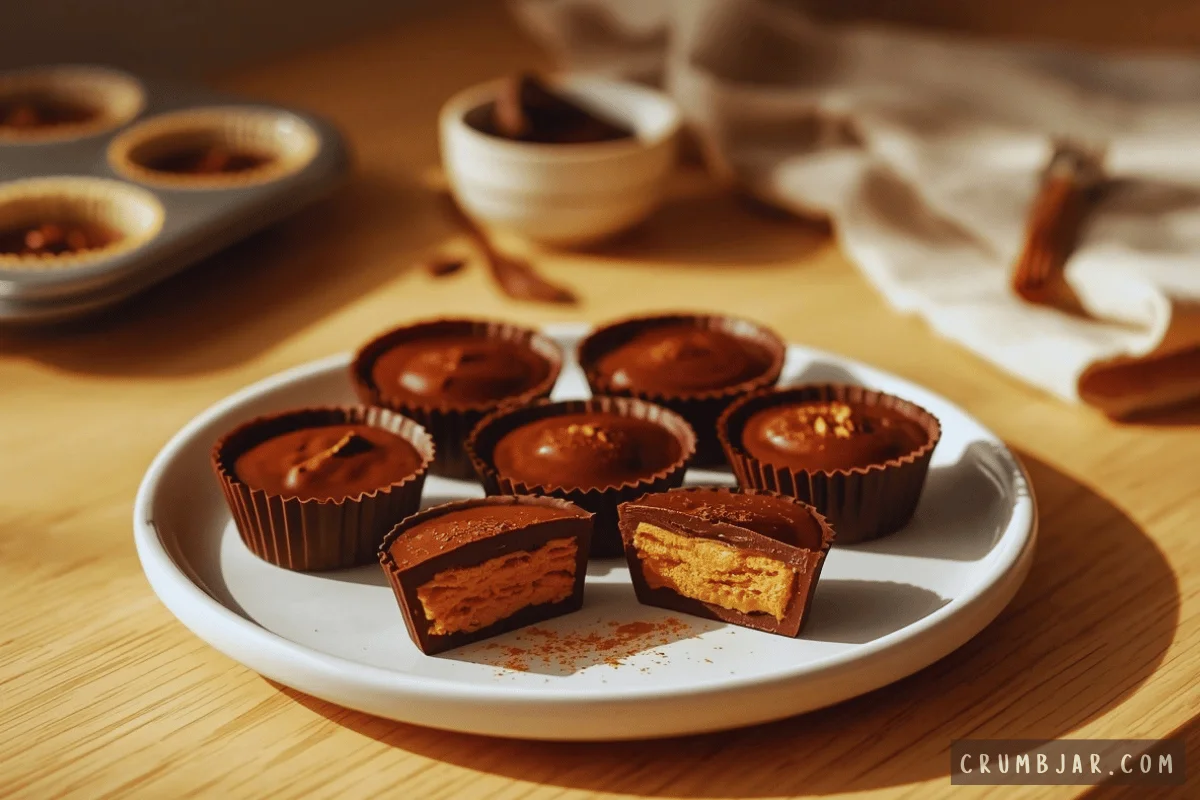
The filling stays firm enough to hold its shape inside a chocolate shell because it’s thickened with graham cracker crumbs and powdered sugar rather than left as loose pumpkin puree. That’s the key difference between this and simply spooning pumpkin into chocolate: without the dry ingredients, the filling would be too wet to set properly and would make the chocolate shell soggy.
Freezing each layer briefly before adding the next is what keeps the layers distinct instead of blending into a single mixed cup.
Recipe Details
- Servings: 12 cups
- Prep time: 20 minutes
- Chill time: 45 minutes
- Total time: 1 hour 5 minutes
- Difficulty: Easy
Ingredients
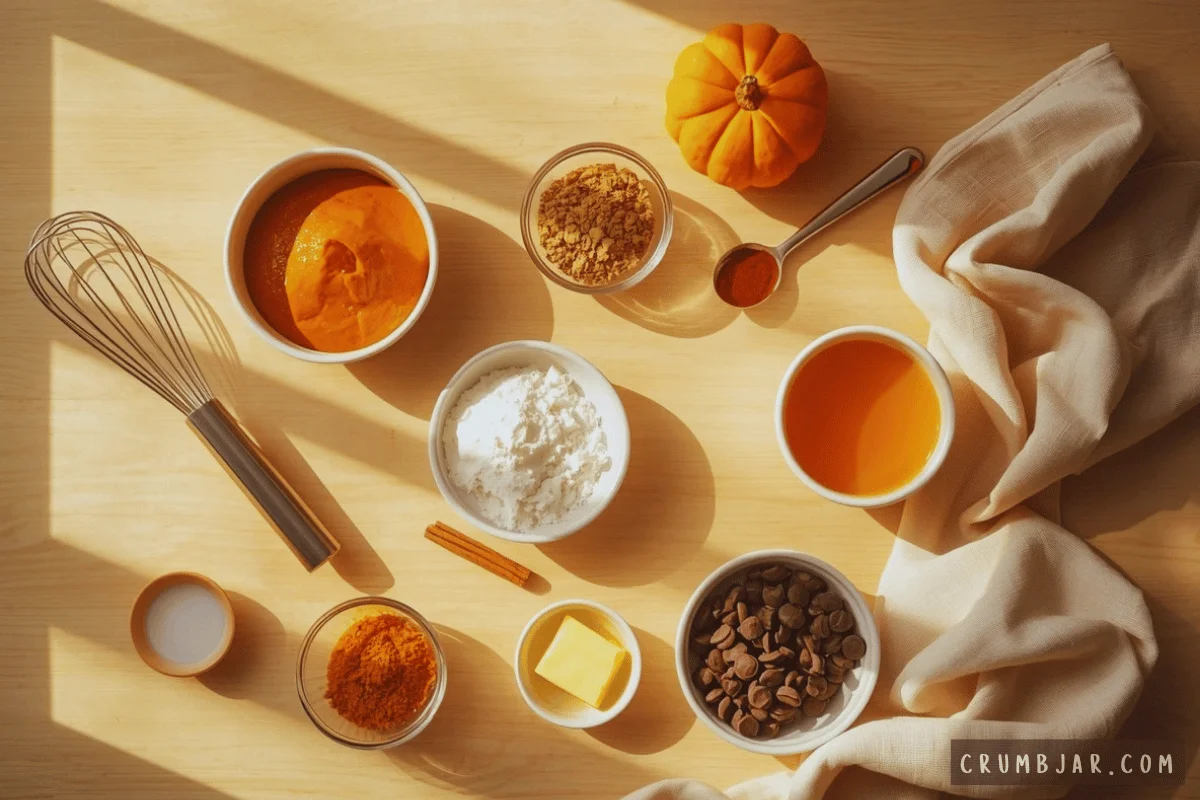
For the pumpkin filling:
- 1/2 cup pumpkin puree (120g), not pumpkin pie filling
- 1/4 cup graham cracker crumbs (25g)
- 1/2 cup powdered sugar (60g)
- 2 tablespoons unsalted butter, melted
- 1/2 teaspoon pumpkin pie spice
- 1/4 teaspoon vanilla extract
For the chocolate shell:
- 12 oz semi-sweet chocolate chips (340g)
- 1 tablespoon coconut oil
Equipment
- 12-cup mini muffin tin
- Mini muffin liners
- Microwave-safe bowl
- Small spoon or pastry brush
How to Make No-Bake Chocolate Pumpkin Butter Cups
- Line a 12-cup mini muffin tin with paper liners.
- In a bowl, stir together the pumpkin puree, graham cracker crumbs, powdered sugar, melted butter, pumpkin pie spice, and vanilla extract until the mixture is thick and holds together when pressed. If it feels too soft to roll, add another tablespoon of graham cracker crumbs.
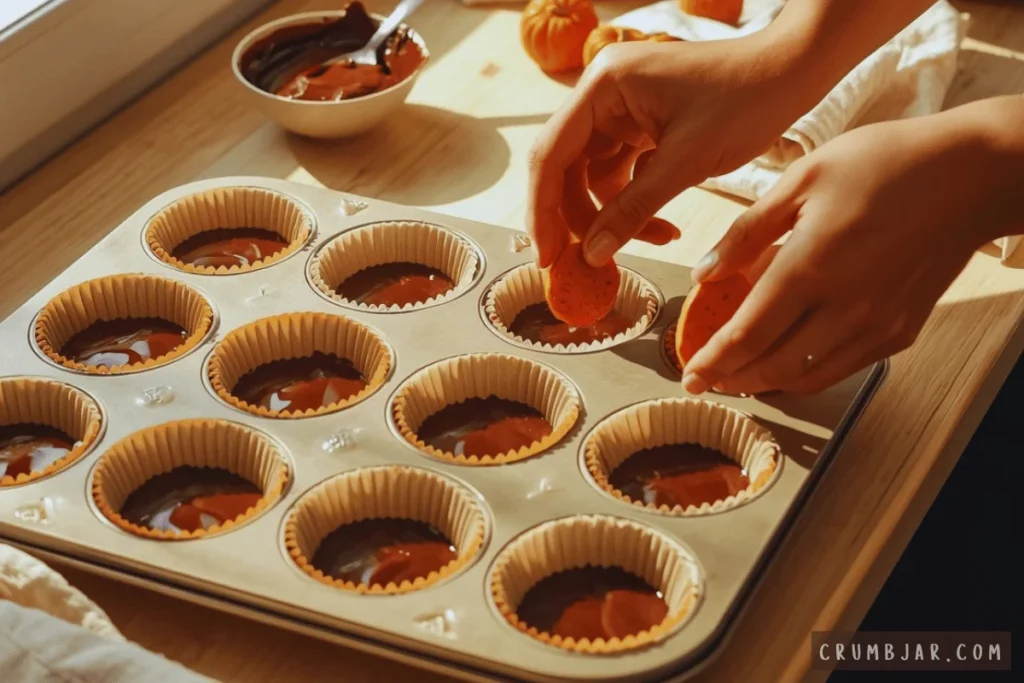
- Roll the pumpkin mixture into 12 small, flat discs slightly smaller than the diameter of the muffin liners, and set aside.
- Melt the chocolate chips and coconut oil together in a microwave-safe bowl in 30-second intervals, stirring between each, until smooth.
- Spoon about 1 teaspoon of melted chocolate into the bottom of each liner, then tilt or use the back of the spoon to spread it up the sides slightly, coating the bottom fully.
- Freeze for 10 minutes, until the chocolate is firm to the touch.
- Place one pumpkin disc on top of the set chocolate layer in each liner, pressing gently so it sits flat and doesn’t touch the edges of the liner.
- Spoon the remaining melted chocolate over the pumpkin discs, covering them completely and sealing the edges against the bottom layer.
- Freeze for at least 30 minutes, until the chocolate is fully set and the cups release cleanly from the liners.
Tips for Success
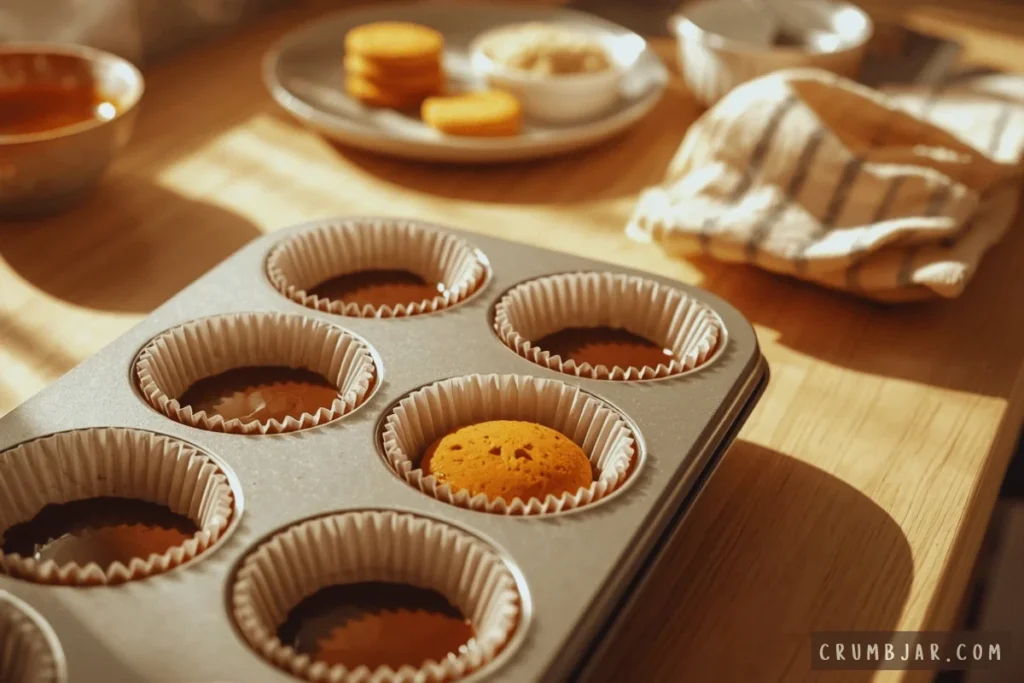
- Keep the pumpkin discs slightly smaller than the liner. This leaves a visible chocolate border once the top layer is added, which is what gives these the classic peanut butter cup look.
- Don’t skip the first freeze. If the bottom chocolate layer isn’t set before you add the pumpkin disc, the disc will sink and you’ll lose the layered effect.
- Work with cold chocolate, not warm. Reheat the chocolate briefly in the microwave if it starts to thicken while you’re assembling, rather than trying to spread chocolate that’s gone stiff.
- Use full-fat pumpkin puree, not a watery brand. A thinner puree makes the filling harder to shape into discs.
Troubleshooting
- Problem: The pumpkin filling is too soft to roll into discs. Likely cause: Too much moisture from the pumpkin puree. Fix: Add graham cracker crumbs a tablespoon at a time until the mixture holds together.
- Problem: The chocolate cracks when you bite into it. Likely cause: The chocolate shell is too thick, or it froze too hard. Fix: Use a thinner, more even layer of chocolate and let the cups sit at room temperature for a couple of minutes before eating.
- Problem: The pumpkin filling is visible through the sides. Likely cause: The bottom chocolate layer didn’t fully coat the sides of the liner. Fix: Use the back of a spoon to push the melted chocolate slightly up the liner walls before it sets.
Storage
Store in an airtight container in the refrigerator for up to 1 week, or in the freezer for up to 2 months. Because the filling contains pumpkin, these should stay refrigerated rather than sitting out at room temperature for extended periods. Let them sit for a few minutes at room temperature before eating if they’ve been frozen, since the chocolate is easiest to bite through once it’s not rock-hard.
Serving Suggestions
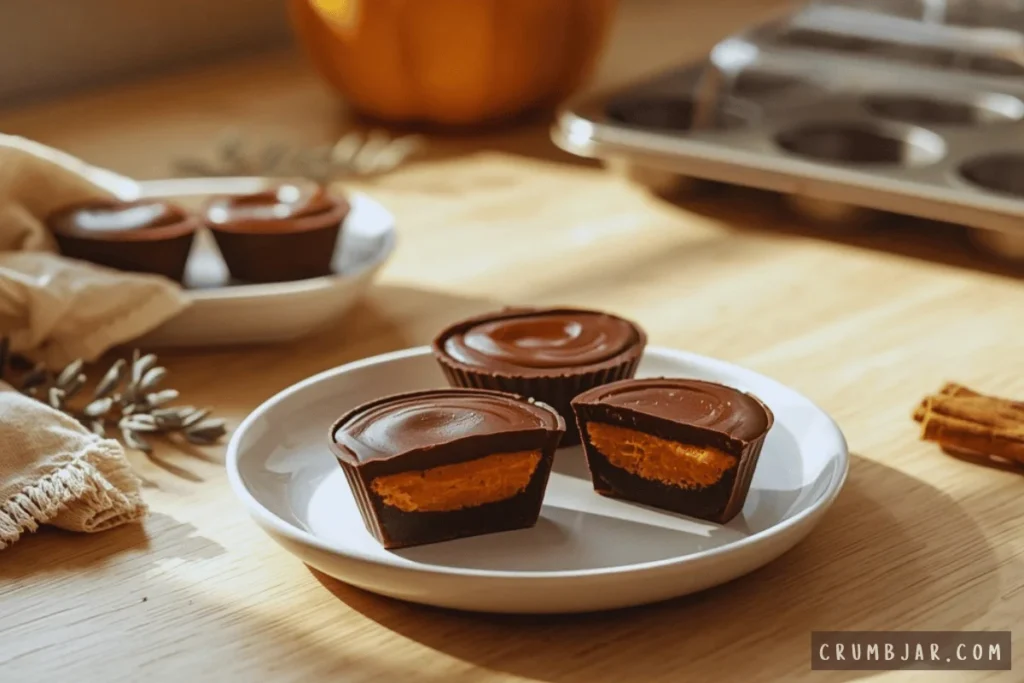
Serve straight from the refrigerator or slightly softened at room temperature. These are sized for a single bite or two, so they work well set out on a small plate for a fall gathering, or packed into a container for gifting.
Looking for an easy pumpkin dump cake recipe? Check out Easy Pumpkin Dump Cake for a delicious, fuss-free dessert that’s perfect for fall.
Frequently Asked Questions
- Can I use peanut butter instead of pumpkin puree? That would give you a classic peanut butter cup rather than this recipe. If you want a pumpkin-peanut butter combination, that’s a different filling ratio than what’s used here.
- Why is my filling too wet? Some pumpkin purees are thinner than others. Add graham cracker crumbs gradually until the mixture is firm enough to hold its shape when rolled.
- Can I make these in a standard muffin tin instead of a mini one? You can, but the yield and setting time will change, and the proportions of chocolate to filling in this recipe are built for the mini size.
- Do I need coconut oil in the chocolate? It’s not strictly required, but it thins the chocolate slightly and gives the shell a smoother, less brittle bite once set. Vegetable shortening works as a substitute.
- Can I make these without a muffin tin? The tin keeps the shape and thickness consistent. Without it, the chocolate shells are difficult to form evenly.
Conclusion
These no-bake chocolate pumpkin butter cups give you real pumpkin flavor and a clean, layered bite without any oven time. Keep the layers cold between steps and the discs slightly undersized, and you’ll get cups that look and hold together like a proper candy shop treat.
Print the Recipe:
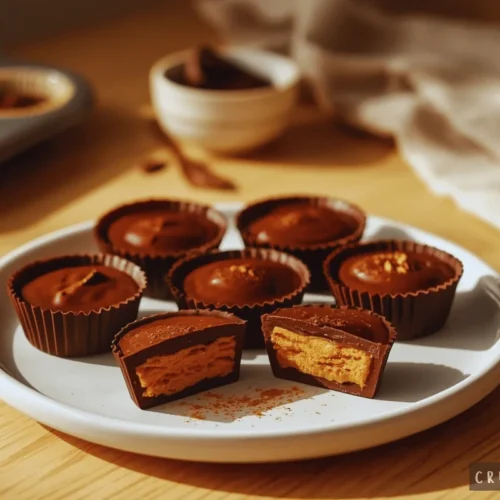
No-Bake Chocolate Pumpkin Butter Cups
Equipment
- 12-cup mini muffin tin
- Mini muffin liners
- Microwave-safe bowl
- Small spoon
Ingredients
For the Pumpkin Filling
- 1/2 cup pumpkin puree not pumpkin pie filling
- 1/4 cup graham cracker crumbs
- 1/2 cup powdered sugar
- 2 tablespoons unsalted butter melted
- 1/2 teaspoon pumpkin pie spice
- 1/4 teaspoon vanilla extract
For the Chocolate Shell
- 12 oz semi-sweet chocolate chips
- 1 tablespoon coconut oil
Instructions
Prepare the Pan
- Line a 12-cup mini muffin tin with paper liners.
Make the Pumpkin Filling
- In a bowl, stir together the pumpkin puree, graham cracker crumbs, powdered sugar, melted butter, pumpkin pie spice, and vanilla extract until the mixture is thick and holds together when pressed. If it feels too soft to roll, add another tablespoon of graham cracker crumbs.
- Roll the pumpkin mixture into 12 small, flat discs slightly smaller than the diameter of the muffin liners, and set aside.
Assemble the Cups
- Melt the chocolate chips and coconut oil together in a microwave-safe bowl in 30-second intervals, stirring between each, until smooth.
- Spoon about 1 teaspoon of melted chocolate into the bottom of each liner, then tilt or use the back of the spoon to spread it up the sides slightly, coating the bottom fully.
- Freeze for 10 minutes, until the chocolate is firm to the touch.
- Place one pumpkin disc on top of the set chocolate layer in each liner, pressing gently so it sits flat and doesn’t touch the edges of the liner.
- Spoon the remaining melted chocolate over the pumpkin discs, covering them completely and sealing the edges against the bottom layer.
- Freeze for at least 30 minutes, until the chocolate is fully set and the cups release cleanly from the liners.


Pingback: Pumpkin Mochi (Baked, Gluten-Free) - Crumb Jar