

Introduction
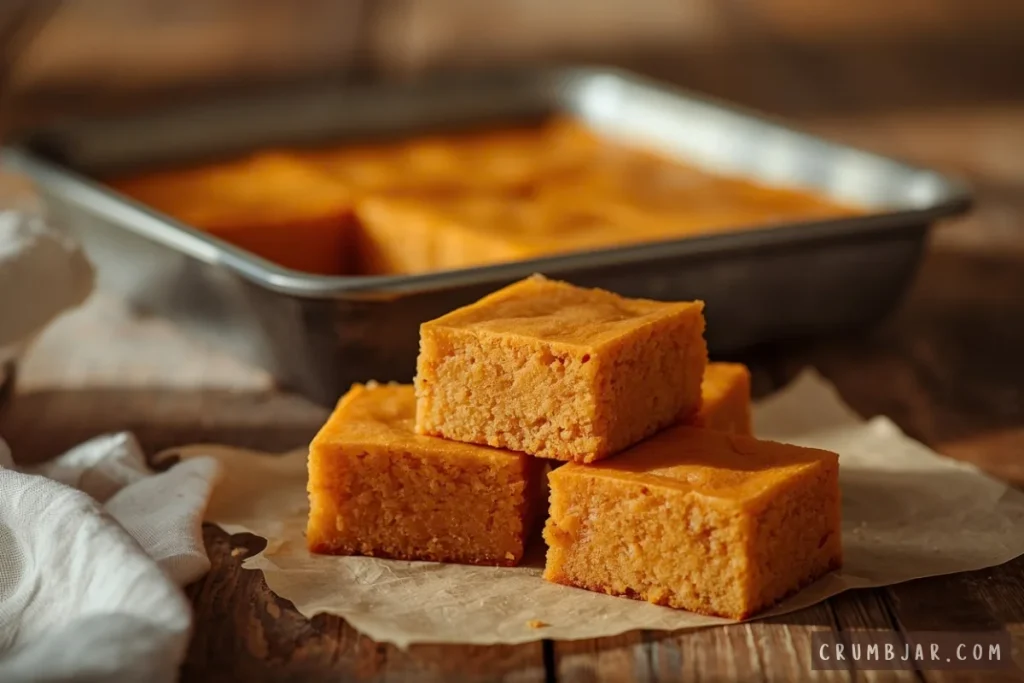
Pumpkin mochi takes the chewy, custardy texture of classic Hawaiian butter mochi and folds in pumpkin puree and warm spice for a fall version of the same treat. It’s made with mochiko, or sweet rice flour, which is naturally gluten-free, so there’s no substitution guesswork involved. One bowl, one pan, and a bake time you can largely ignore while it does its thing in the oven.
Why This Recipe Works
Mochiko behaves differently than wheat flour. Instead of developing gluten structure, it sets into a dense, chewy, slightly springy texture as it bakes, that’s the entire appeal of butter mochi, and it holds true here with pumpkin added. Because there’s no gluten to worry about overmixing, this batter is forgiving to stir together; the usual cake-baking cautions about overmixing don’t apply the same way.
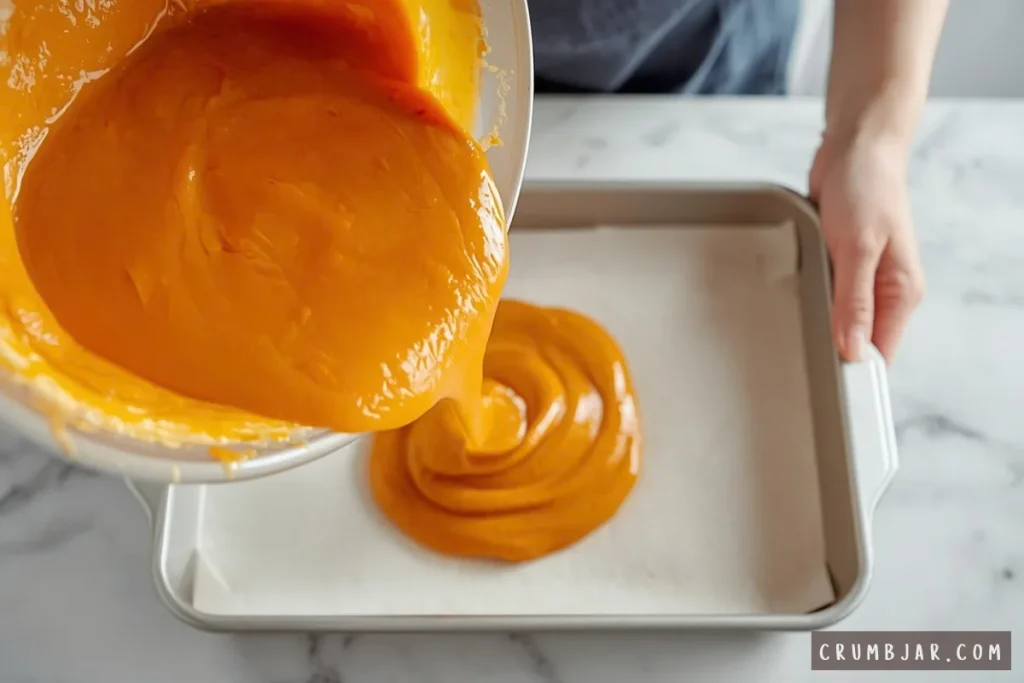
The batter is thin and pourable, closer to a pancake batter than a cake batter, which is normal and expected. Don’t be tempted to add extra mochiko to thicken it, that changes the texture in the wrong direction.
Recipe Details
- Servings: 12
- Prep time: 15 minutes
- Bake time: 1 hour
- Total time: 1 hour 15 minutes
- Difficulty: Easy
Ingredients
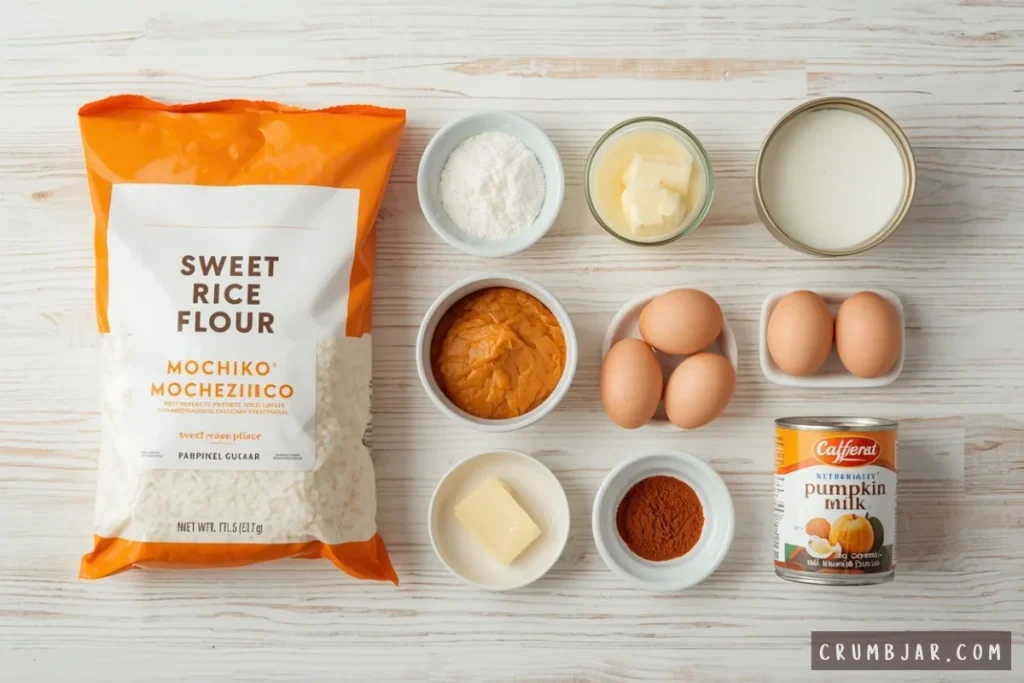
- 1 box (16 oz / 454g) mochiko (sweet rice flour)
- 1 1/2 cups granulated sugar (300g)
- 2 teaspoons baking powder
- 1 teaspoon pumpkin pie spice
- 1/2 teaspoon salt
- 1 can (15 oz / 425g) pumpkin puree, not pumpkin pie filling
- 1 can (12 oz / 354ml) evaporated milk
- 1 can (13.5 oz / 400ml) coconut milk
- 3 large eggs
- 1/2 cup unsalted butter, melted (115g)
- 1 teaspoon vanilla extract
Equipment
- 9×13-inch baking pan
- Large mixing bowl
- Whisk
How to Make Pumpkin Mochi
- Preheat the oven to 350°F (175°C). Grease a 9×13-inch baking pan.
- In a large bowl, whisk together the mochiko, sugar, baking powder, pumpkin pie spice, and salt.
- Add the pumpkin puree, evaporated milk, coconut milk, eggs, melted butter, and vanilla extract to the dry ingredients.
- Whisk until the batter is smooth and no dry streaks of mochiko remain. The batter will be thin and pourable, this is correct.
- Pour the batter into the prepared pan.
- Bake for 55-65 minutes, until the top is deep golden brown and a toothpick inserted in the center comes out clean, without wet batter clinging to it. A few moist crumbs are fine.
- Let the mochi cool completely in the pan, about 1 hour, before slicing. It firms up significantly as it cools and is much easier to cut into clean squares once fully cooled.
Tips for Success
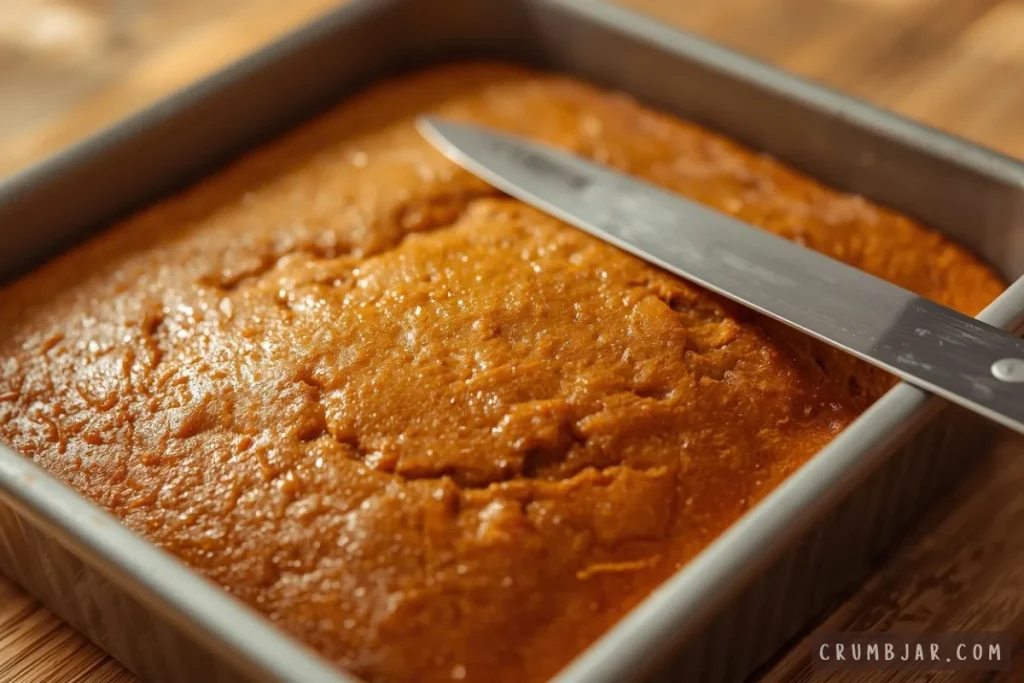
- Let it cool fully before cutting. Warm mochi is soft and sticky and will tear rather than slice cleanly.
- Use a plastic or silicone spatula-style knife, or grease your knife, since mochi is naturally sticky and tends to stick to metal blades.
- Don’t skip full-fat coconut milk. Light coconut milk changes the moisture balance and can leave the mochi denser than intended.
- Bake until deeply golden, not just set. A pale top usually means it needs more time; the color is a reliable visual cue here since the toothpick test can be less obvious with this batter.
Troubleshooting
- Problem: The center stays gummy or undercooked even after the top looks done. Likely cause: The oven temperature ran cool, or the pan wasn’t fully preheated into. Fix: Tent the pan loosely with foil once the top is golden and continue baking in 10-minute increments, checking with a toothpick each time.
- Problem: The mochi is difficult to slice cleanly. Likely cause: It hasn’t cooled enough, or wasn’t cooled long enough. Fix: Let it cool completely, and if needed, refrigerate for 20–30 minutes before cutting for the cleanest squares.
- Problem: The texture is tough or rubbery rather than chewy. Likely cause: Overbaking. Fix: Start checking for doneness at the 55-minute mark rather than waiting the full time.
Storage
Store covered at room temperature for up to 2 days, or in the refrigerator for up to 5 days. Mochi firms up further when chilled, so bring refrigerated pieces to room temperature, or warm them briefly, before serving for the best chewy texture. This dessert can be baked a day ahead of when you plan to serve it.
Serving Suggestions
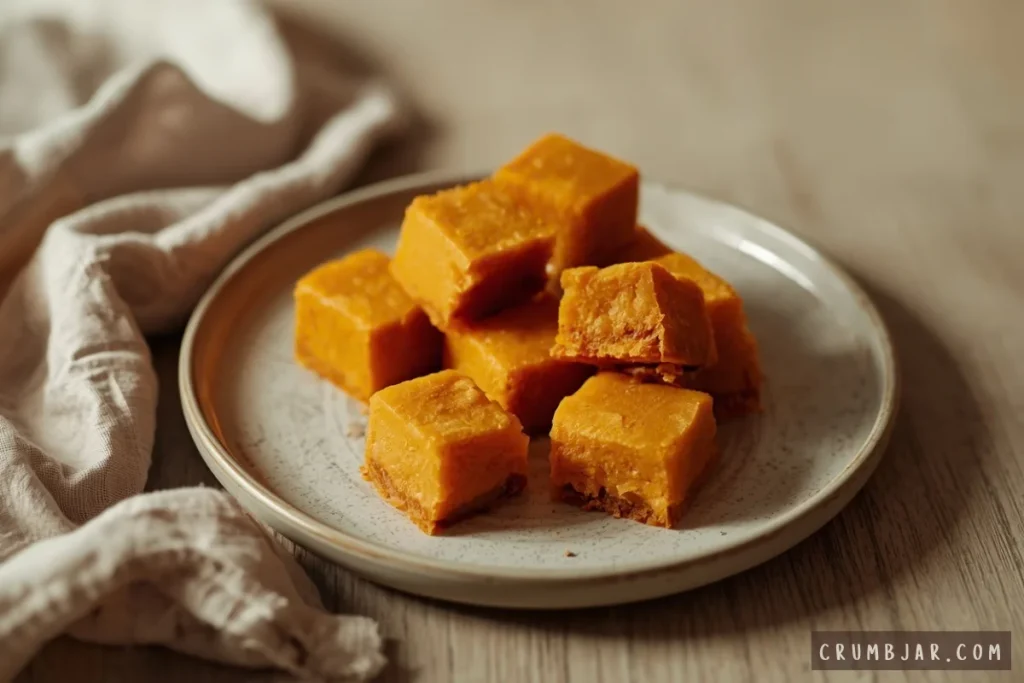
Cut into squares once fully cooled and serve at room temperature. Because the texture is dense and chewy rather than light and airy, smaller squares tend to work better than large cake-style slices.
You may also like No-Bake Chocolate Pumpkin Butter Cups.
Frequently Asked Questions
- Can I use regular rice flour instead of mochiko? No. Mochiko is sweet rice flour made from glutinous rice, and it’s what gives this dessert its chewy texture. Regular rice flour behaves differently and won’t produce the same result.
- Is this the same as butter mochi? It’s a pumpkin variation of the same style of dessert. The base method, mochiko, coconut milk, evaporated milk, eggs, and butter, is the same; this version adds pumpkin puree and pumpkin pie spice.
- Why is the batter so thin? That’s expected. Mochiko batters are much thinner than typical cake batters, closer to a pancake batter, and they bake into a dense, set texture regardless of how thin the raw batter looks.
- Can I substitute the coconut milk with more evaporated milk? Coconut milk contributes to the texture and richness, so swapping it out will change the result. If you need to substitute for a coconut allergy, whole milk is a closer substitute than more evaporated milk.
- Is this recipe naturally gluten-free? Yes. Mochiko is made from rice, not wheat, so this recipe is gluten-free as written, provided your baking powder and other ingredients are also certified gluten-free if that matters for your needs.
Conclusion
Pumpkin mochi gives you a genuinely different texture from the usual fall dessert lineup, dense, chewy, and a little springy, with real pumpkin flavor running through it. Let it cool fully before cutting, watch for that deep golden color as your doneness cue, and you’ll have a naturally gluten-free treat that holds up well for days.
Print the Recipe:
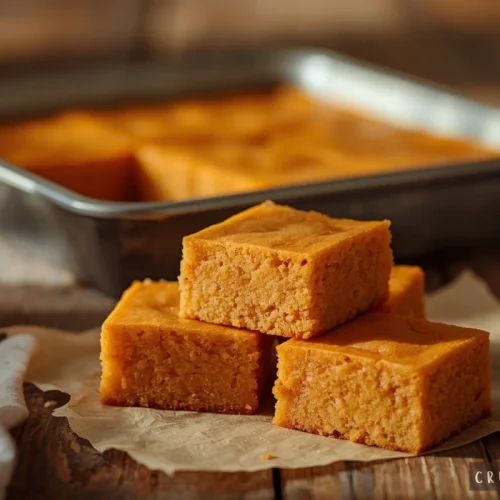
Pumpkin Mochi (Baked, Gluten-Free)
Equipment
- 9×13-inch baking pan
- Large mixing bowl
- Whisk
Ingredients
- 16 oz mochiko (sweet rice flour)
- 1 1/2 cups granulated sugar
- 2 teaspoons baking powder
- 1 teaspoon pumpkin pie spice
- 1/2 teaspoon salt
- 15 oz pumpkin puree not pumpkin pie filling
- 12 oz evaporated milk
- 13.5 oz coconut milk full-fat
- 3 large eggs
- 1/2 cup unsalted butter melted
- 1 teaspoon vanilla extract
Instructions
- Preheat the oven to 350°F (175°C). Grease a 9×13-inch baking pan.
- In a large bowl, whisk together the mochiko, sugar, baking powder, pumpkin pie spice, and salt.
- Add the pumpkin puree, evaporated milk, coconut milk, eggs, melted butter, and vanilla extract to the dry ingredients.
- Whisk until the batter is smooth and no dry streaks of mochiko remain. The batter will be thin and pourable — this is correct.
- Pour the batter into the prepared pan.
- Bake for 55–65 minutes, until the top is deep golden brown and a toothpick inserted in the center comes out clean, without wet batter clinging to it. A few moist crumbs are fine.
- Let the mochi cool completely in the pan, about 1 hour, before slicing. It firms up significantly as it cools and is much easier to cut into clean squares once fully cooled.


Pingback: 25 Easy Halloween Desserts: 5 Best Treats for Your Halloween Party - Crumb Jar